


These no spread sugar cookies are going to be your go-to cookie this holiday season. They are soft and tender and are the perfect cut out cookie to decorate with royal icing.

Are you planning on baking cookies for Christmas? If so, these no spread sugar cookies are for you. I use vanilla bean paste which gives them a great vanilla flavor. These cookies are buttery, mildly sweet and have a smooth texture which makes them delicious all on their own.
The best part is they hold their shape when baked. There's nothing more disappointing than rolling out beautifully shaped cookies and having them spread once they come out of the oven.
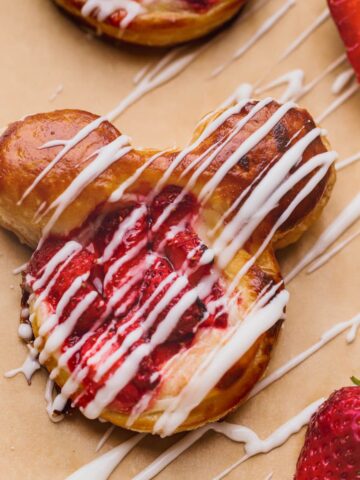
Make sure to try my Lemon Lavender Cookies and Lemon Curd Cookies!
Jump to:
Why You Will Love These Cookies
- No spread cookies- These cookies do not have any leavening agents, such as baking powder or baking soda which means they hold their shape when they are baked inside the oven.
- Perfect cookie for decorating- The most perfect dough for those holiday cookie cutters. These cookies have sharp edges and are a great canvas for piped icing.
- Fool proof recipe- These cookies only have 6 ingredients and do not require any special technique.
- Great vanilla flavor- Although these sugar cookies can be decorated, they taste just as delicious on their own. I use vanilla bean paste which gives them a beautiful vanilla flavor.

Ingredient Notes
- Butter- With minimal ingredients, use a good quality butter. I used Challenge unsalted butter. Make sure to pull the butter from the fridge at least 2 hours before mixing to allow it to soften.
- Sugar- I use white granulated sugar.
- Eggs- I use just 1 egg, at room temperature. It adds an extra dose of richness to these cookies.
- Vanilla- I use vanilla bean paste. You can substitute with vanilla extract but if possible, use vanilla bean paste for the best flavor.
- Flour- Good ol' all-purpose flour.
- Salt- Adding a bit of salt enhances the flavors and helps balance the sweetness.
Step By Step Instructions
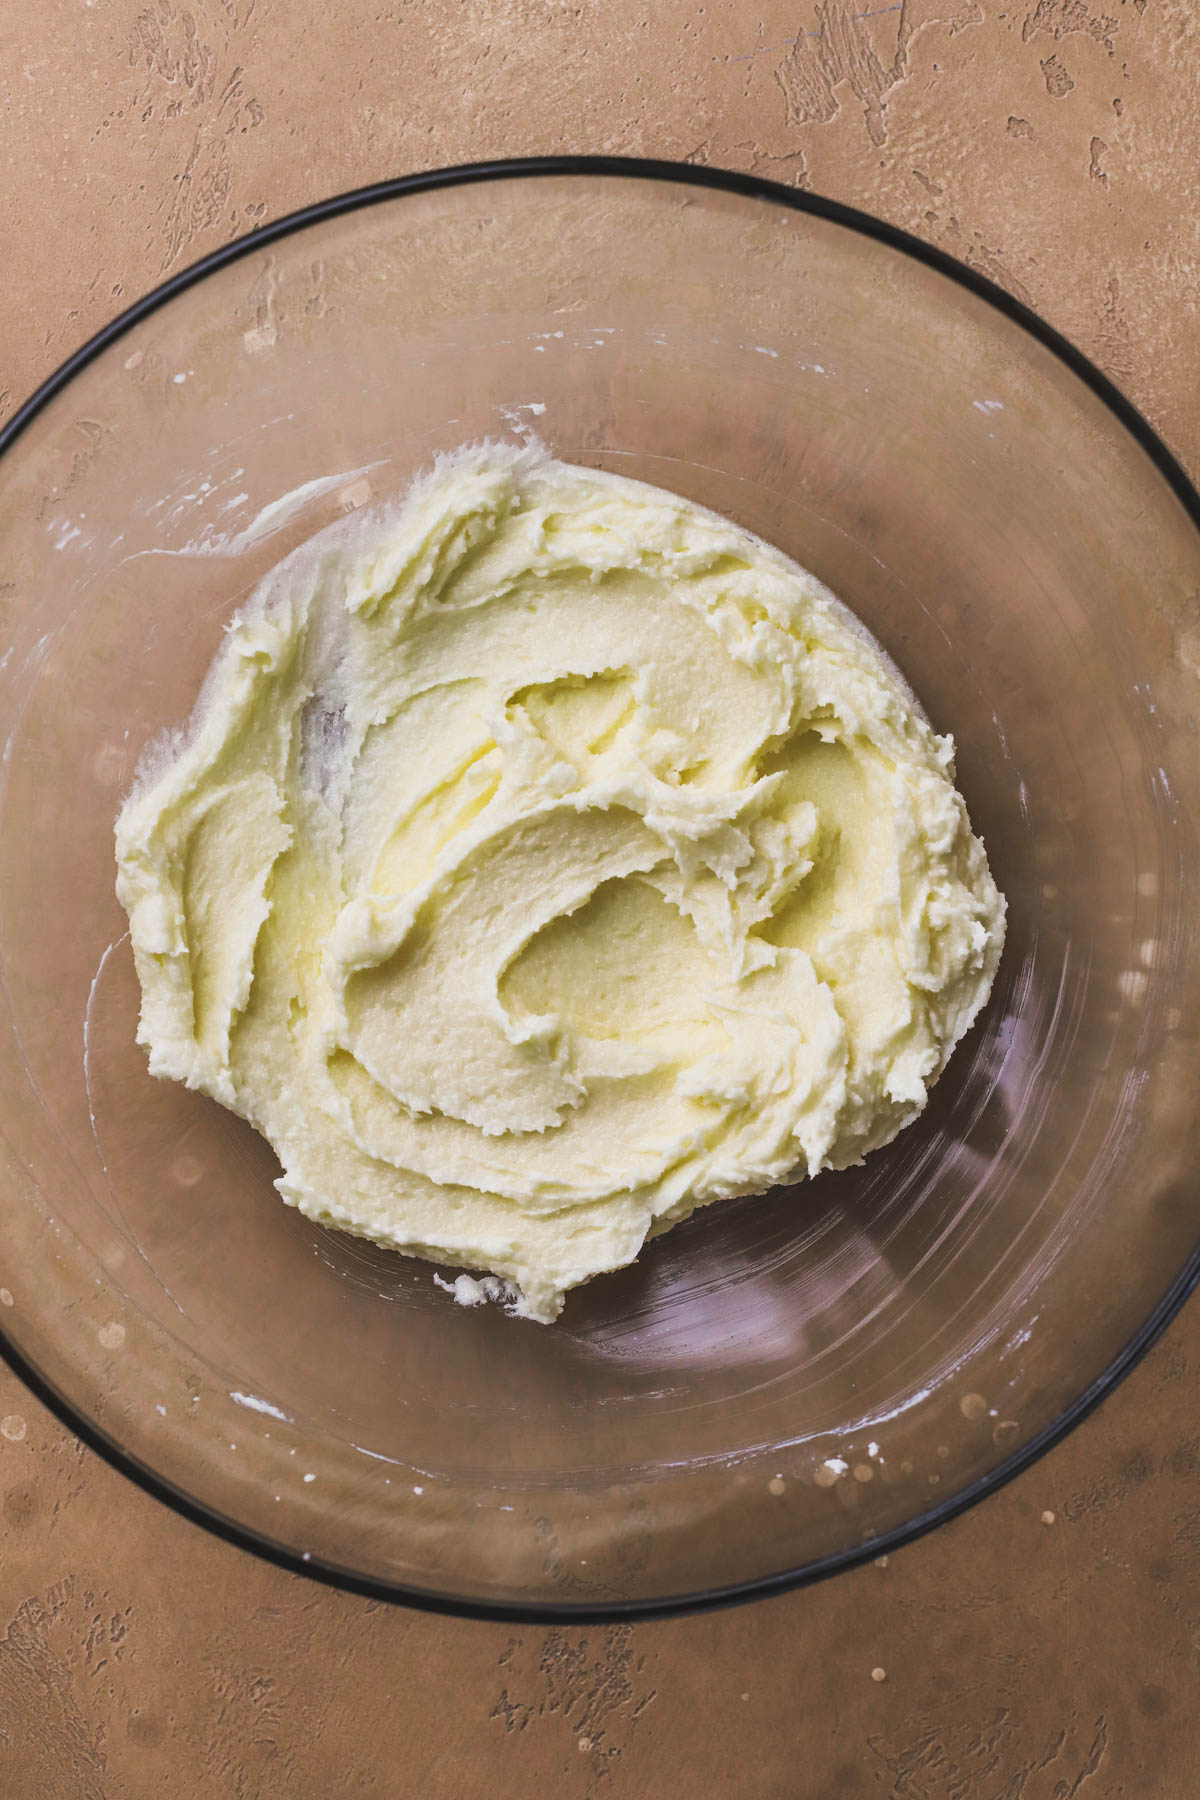
STEP 1: Cream butter and sugar. In a bowl of stand mixer, add softened butter and sugar. Using a paddle attachment, cream until pale yellow and fluffy.
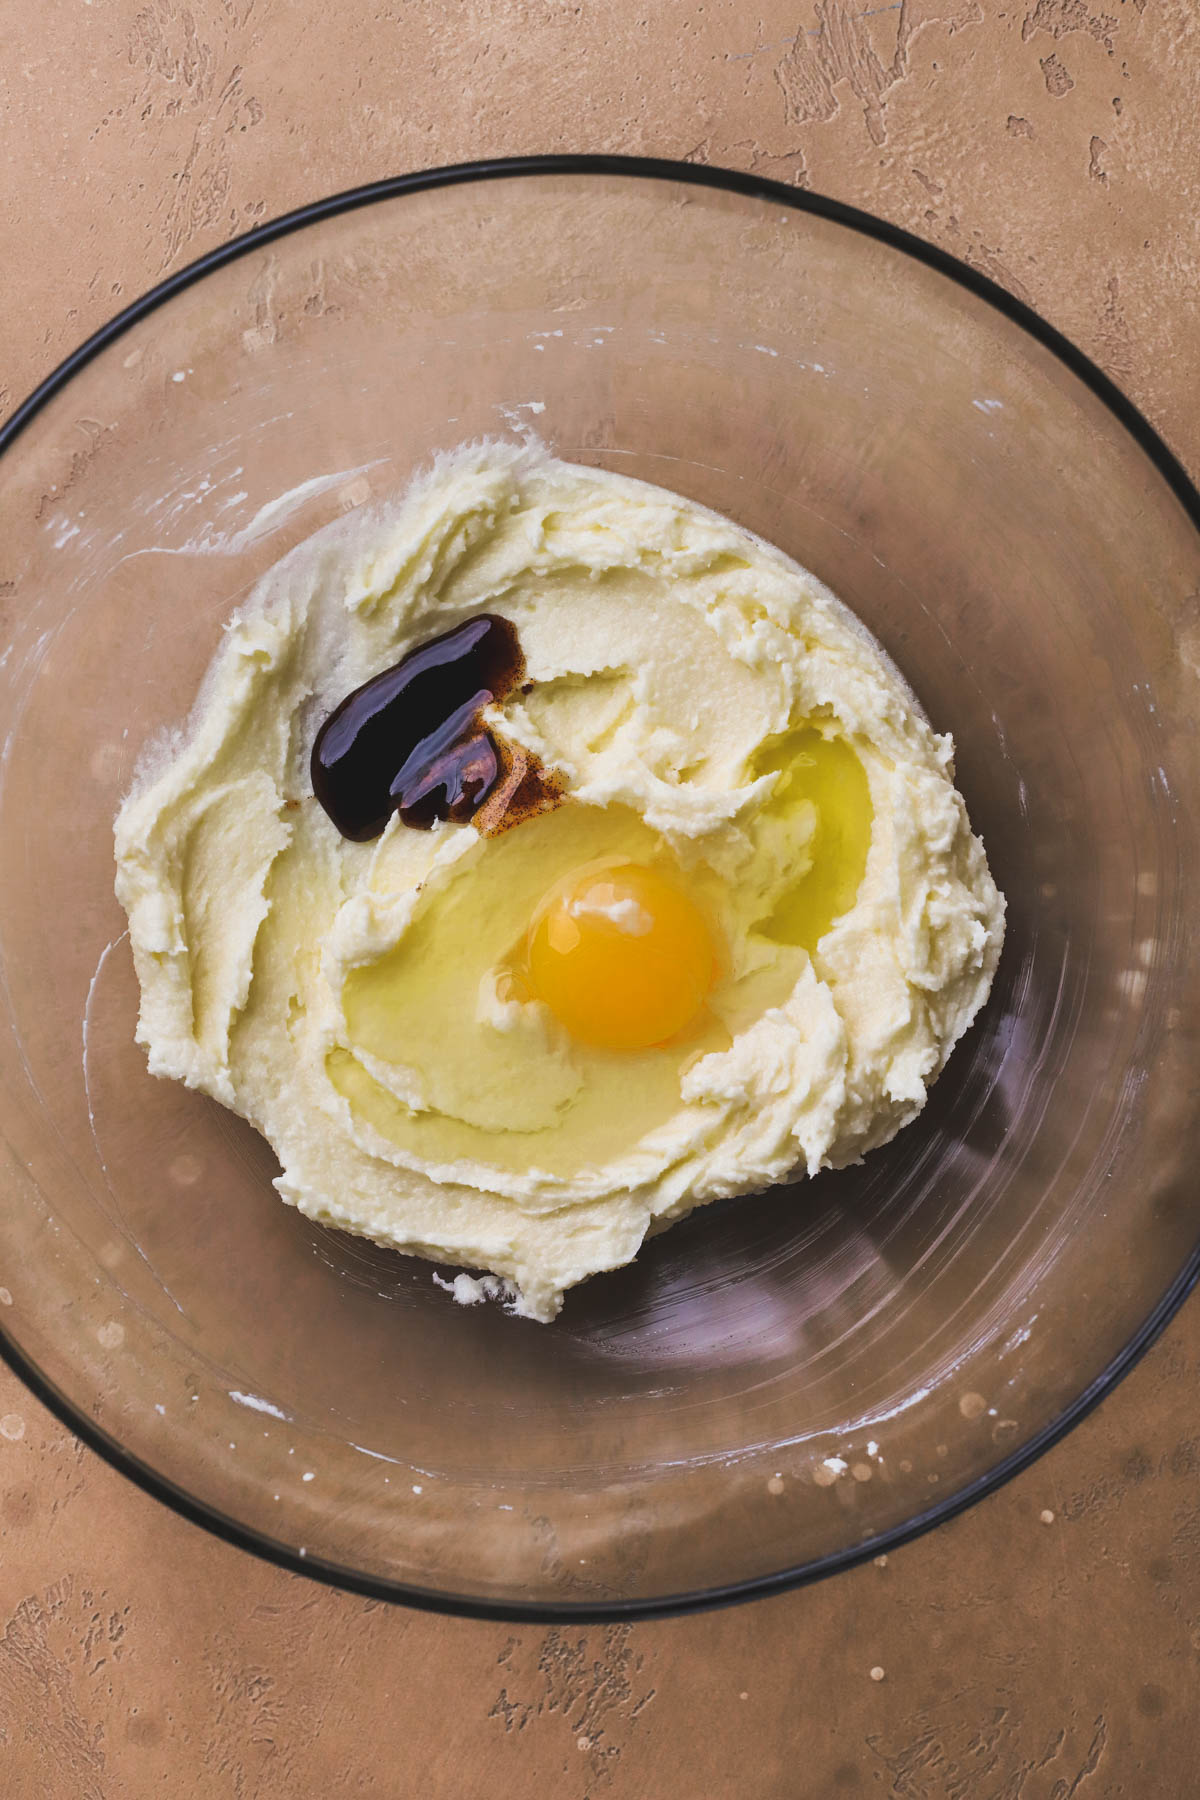
STEP 2: Add wet ingredients. With mixer on low speed, add egg. Then add vanilla bean paste.
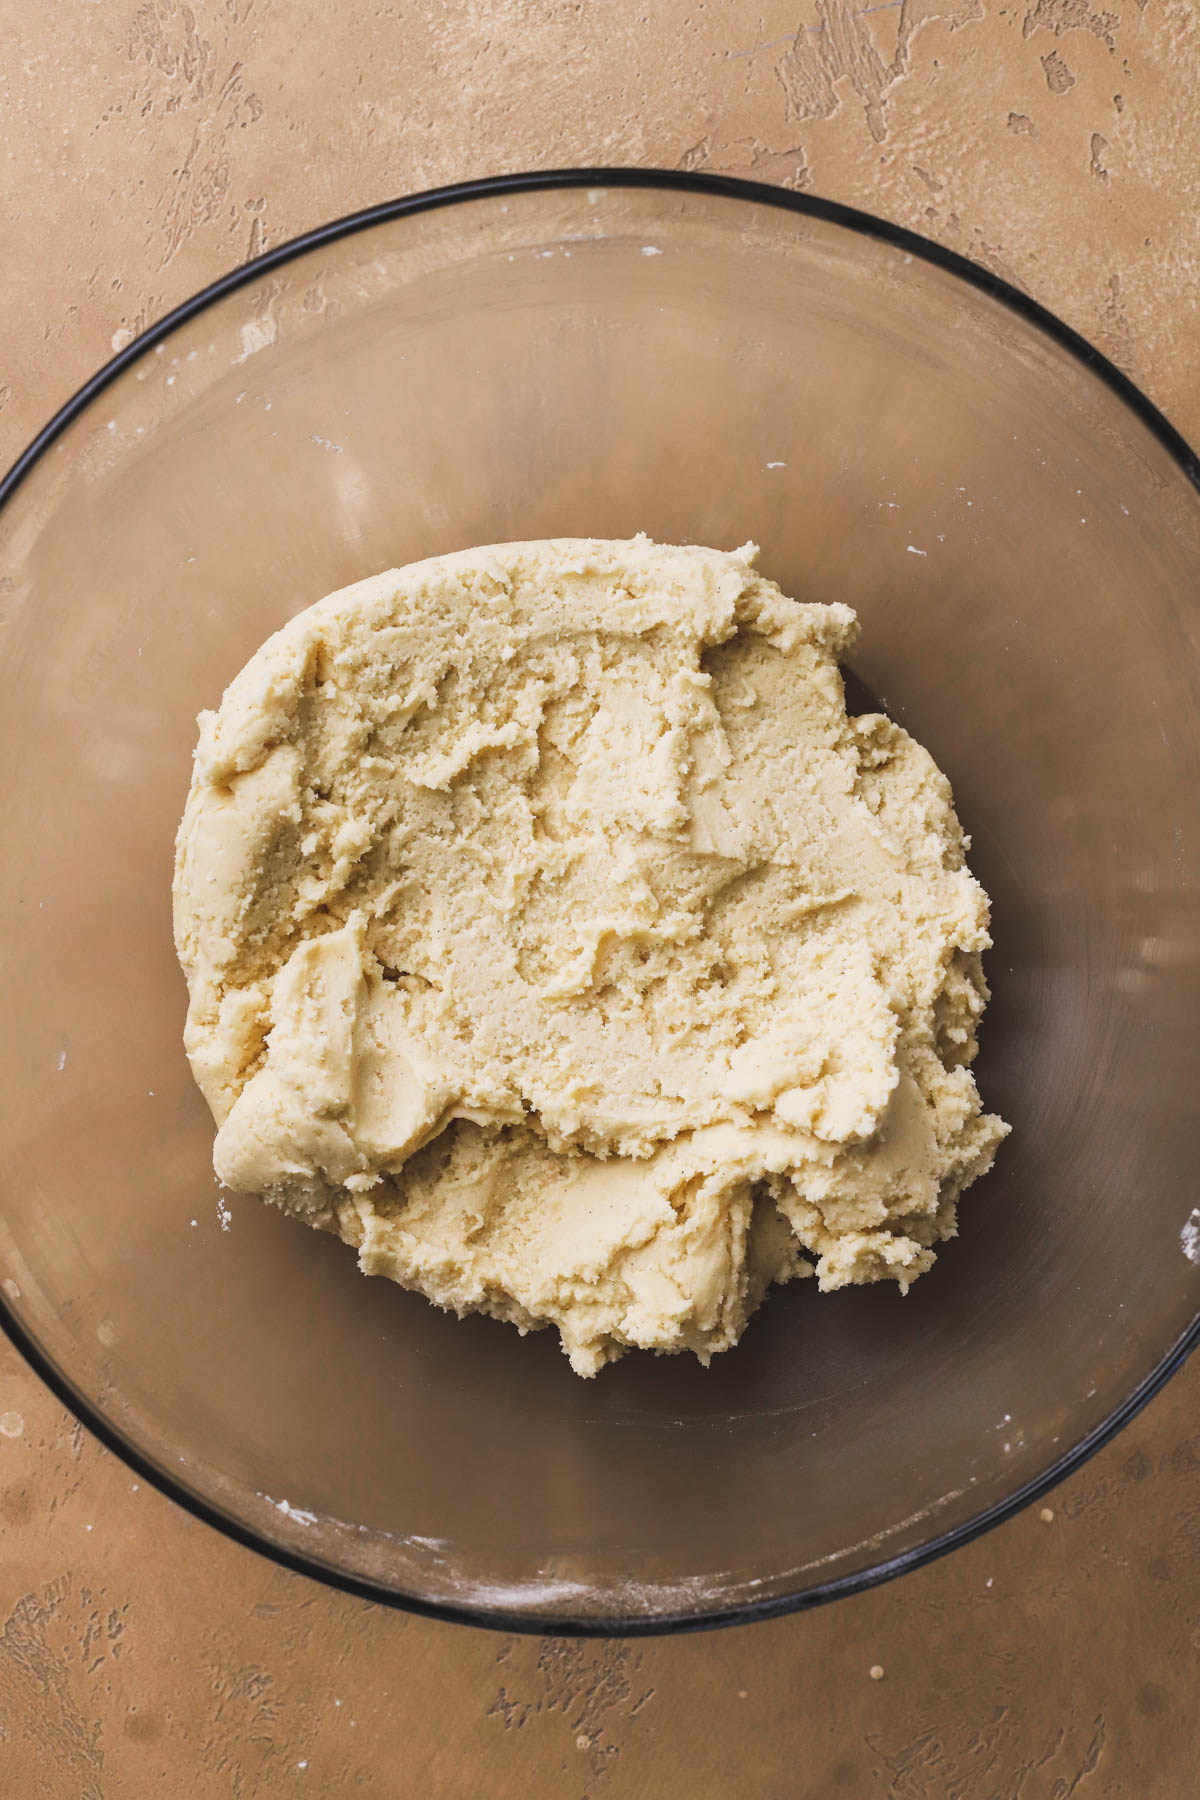
STEP 3: Add dry ingredients. Meanwhile, sift together flour and salt inside medium size bowl. Add flour mixture into creamed butter and mix just until combined. Do not over mix.
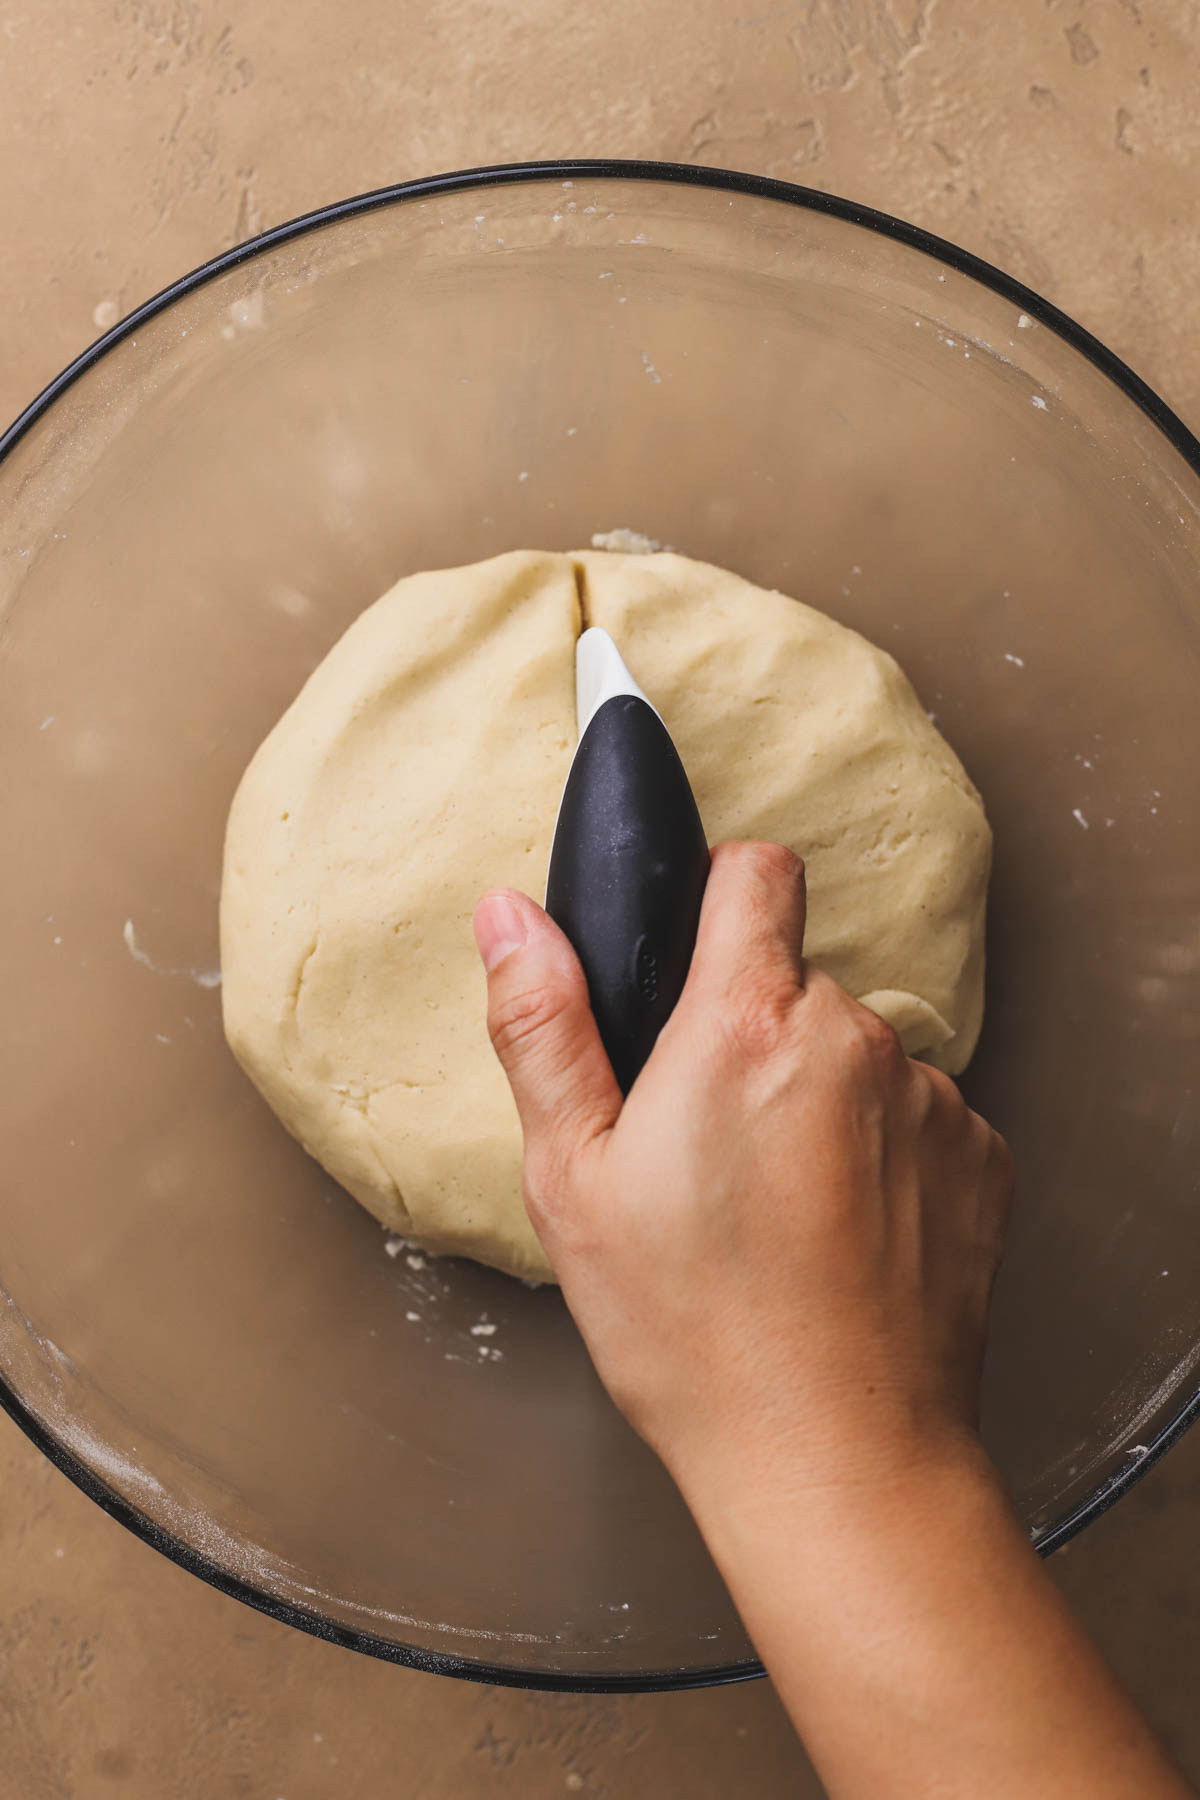
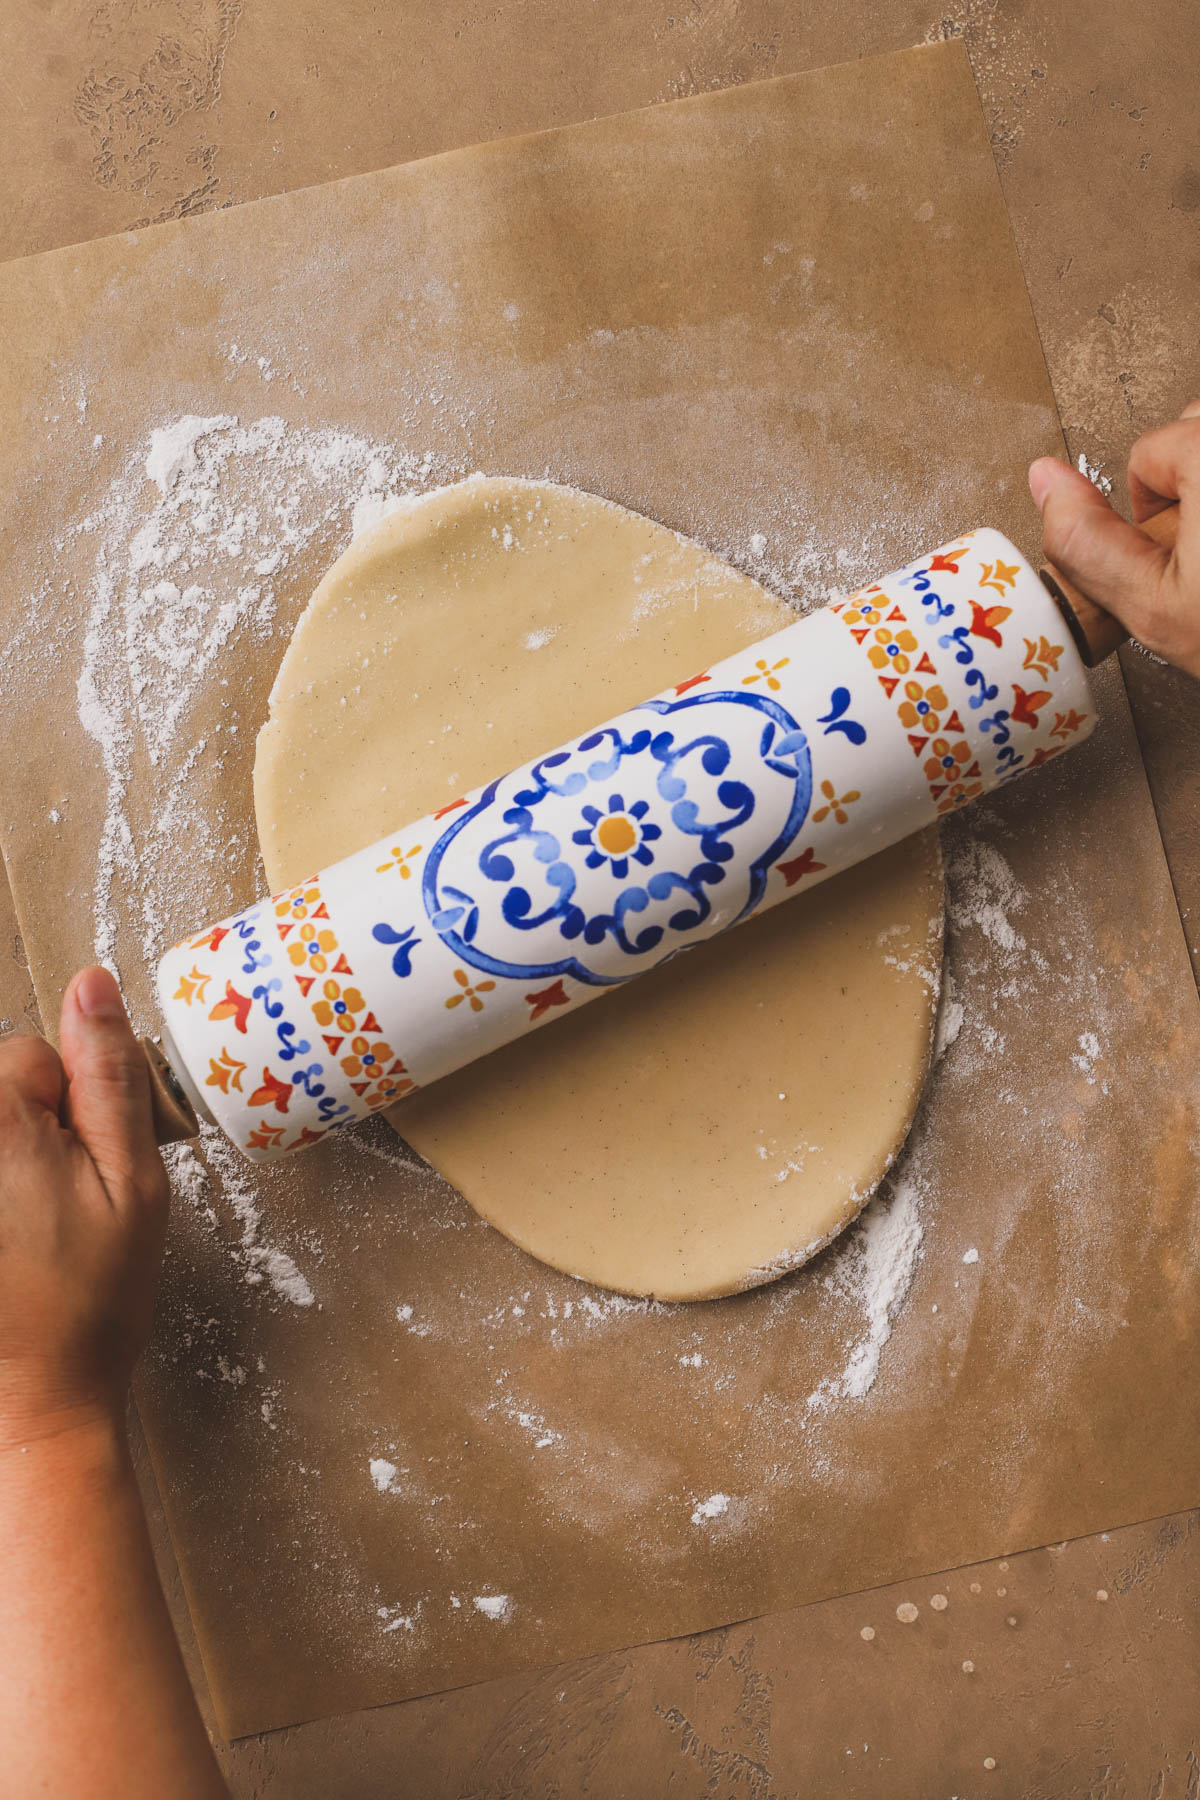
STEP 4: Roll dough. Divide dough in half. Lightly dust two sheets of parchment paper with flour. Then, place each ball of dough onto parchment paper. Sprinkle the tops of the dough with flour to prevent the rolling pin from sticking.
Roll dough to ¼" in thickness. Place rolled dough onto cookie sheet. Wrap in plastic wrap and refrigerate for 2 hours or overnight.
STEP 5: Cut out shapes. Once chilled, remove dough from the refrigerator. Punch out desired shapes.
Next, take a small offset spatula and carefully run it underneath each shape to release it from the parchment paper.
STEP 6: Chill cookies. Once all of the cookies have been cut out, place them onto a parchment lined sheet pan. Refrigerate for 30 minutes. As the cookies chill, preheat oven to 350°
Gather the dough scraps, and roll them onto a lightly floured sheet of parchment paper. If they are too soft to cut out, refrigerate for 20-30 minutes until the dough firms up.
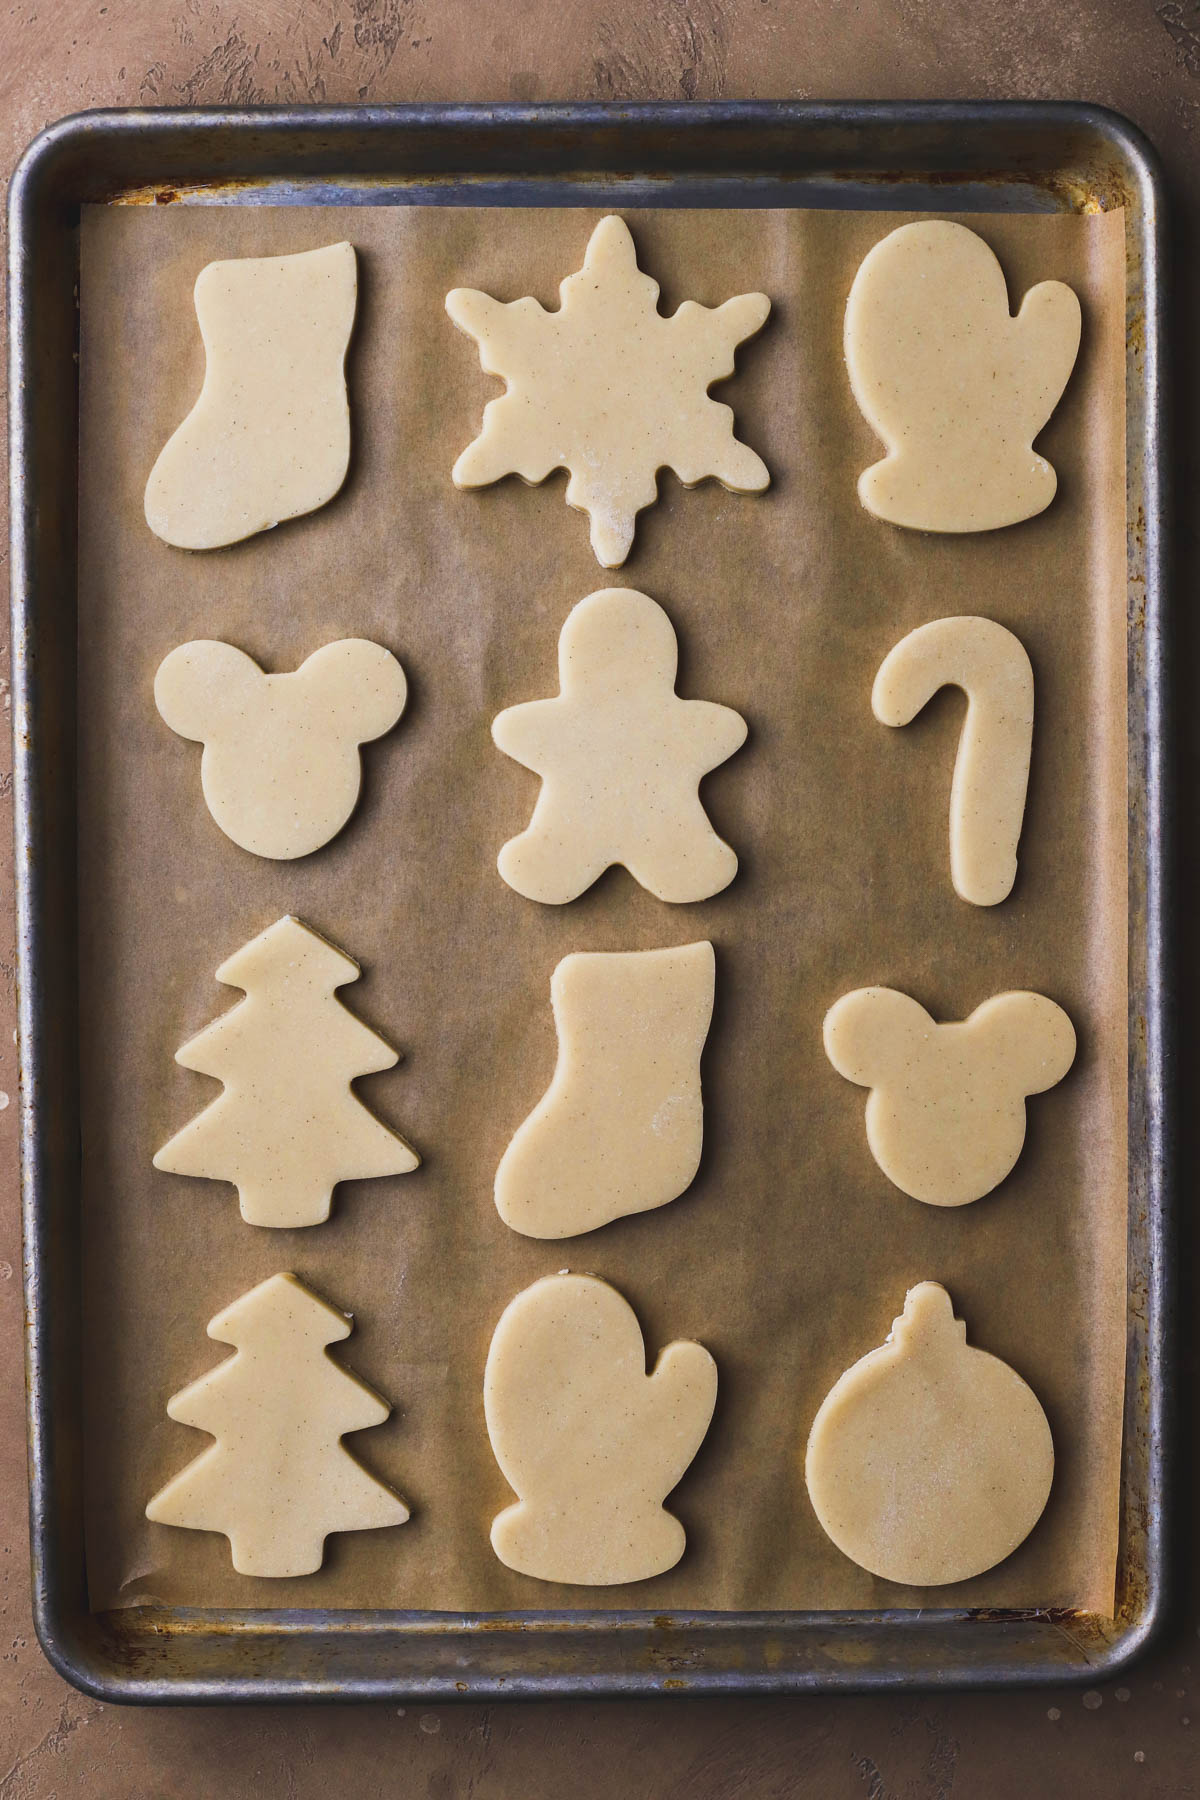
Then, cut them out and let them chill as the first batch bakes in the oven.
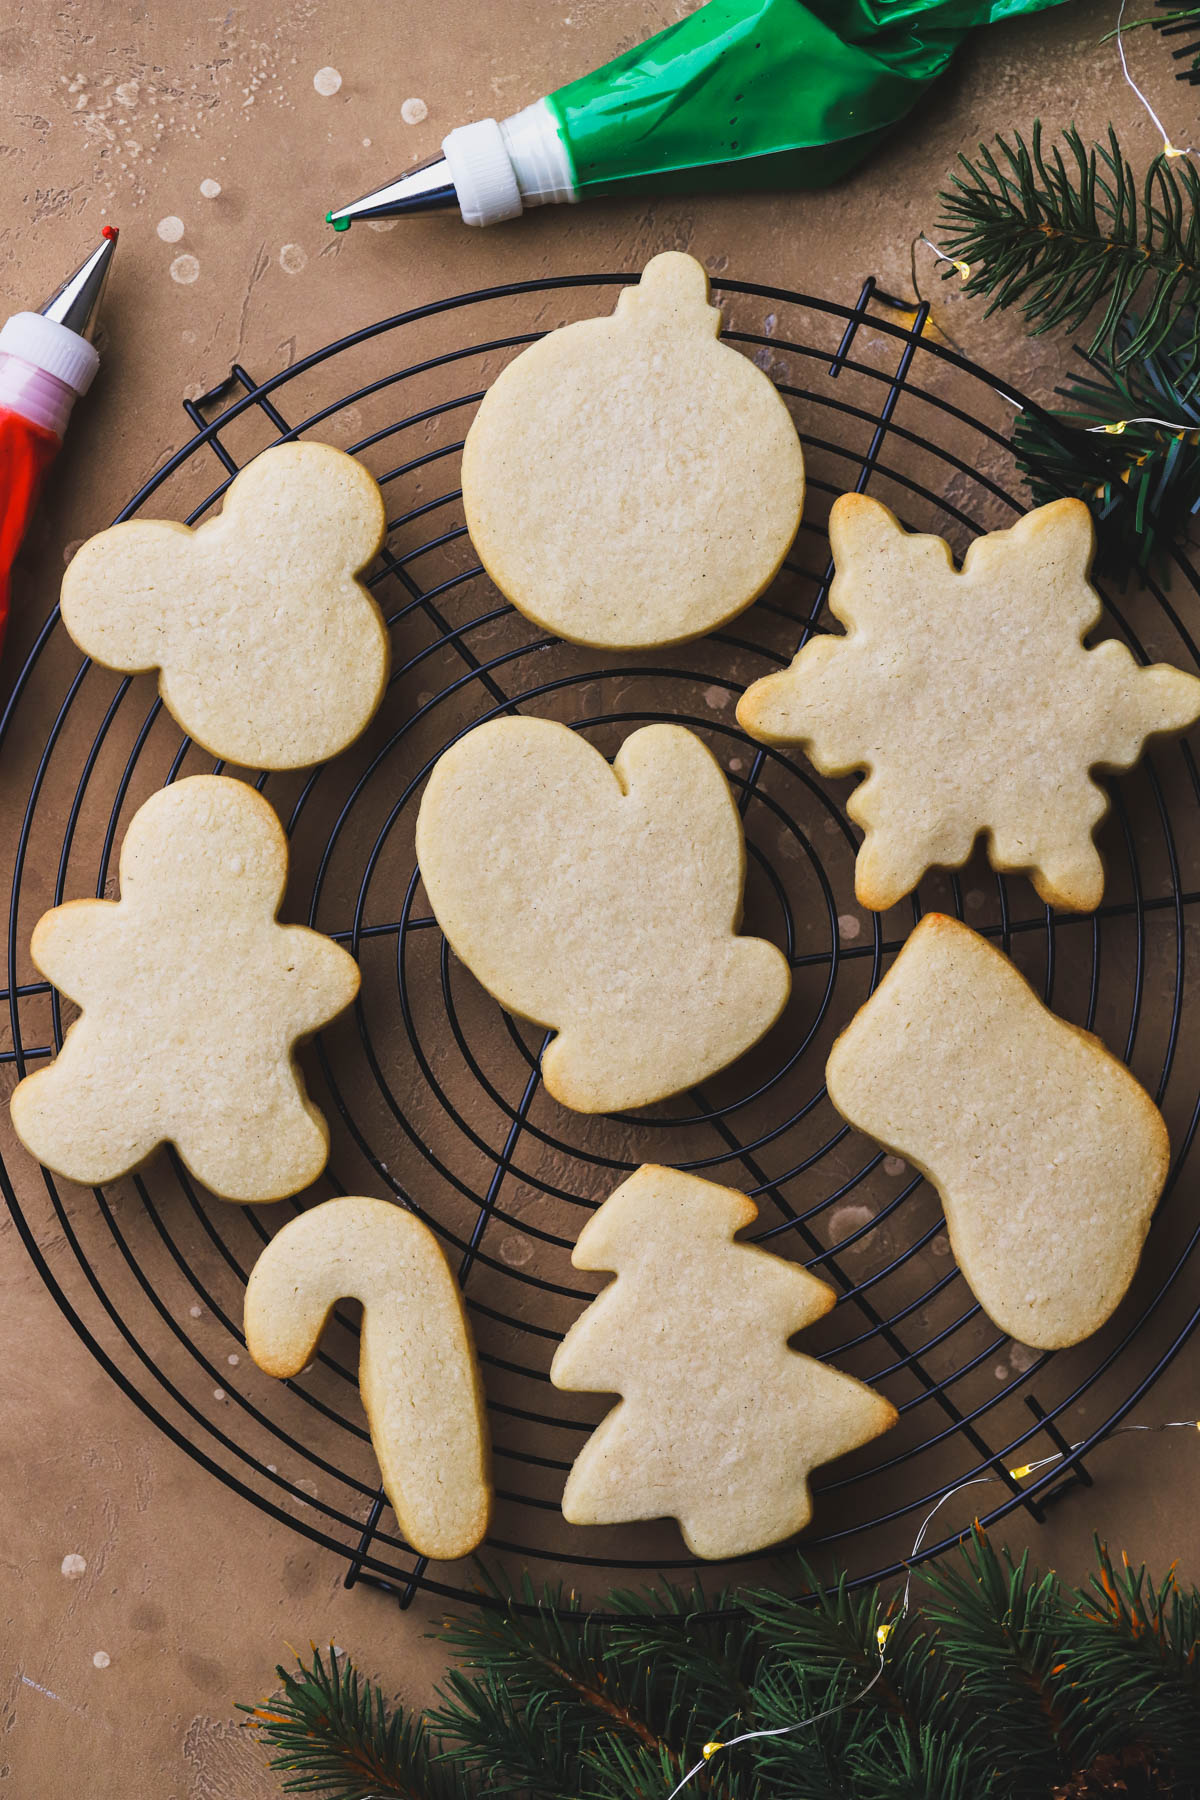
STEP 7. Bake cookies. Space cookies 1 ½ inches apart. Bake for 10-12 minutes. Allow the cookies to cool completely before decorating.

Expert Baking Tips
Use good quality ingredients. Because this recipe has minimal ingredients, quality will definitely make a difference.
Do not over mix or over handle the dough. After adding in the dry ingredients, mix just until combined. Also, try to be strategic when cutting out your cookies, so you can get as many cookies out of the first roll and have less scraps to roll the second time.
Make sure the dough is completely chilled while rolling and before baking. The key to keeping these cookies from spreading is to keep them chilled up until placing them into the oven.
Be careful not to over bake these cookies. These cookies are best enjoyed with lightly golden bottoms but soft and tender centers. If you desire crunchy sugar cookies, feel free to add a couple minutes to the baking time.
How To Decorate Like A Pro
- Outlining- By outlining your cookies with royal icing, you avoid any icing from spilling over the edges. The icing should be thick and hold it's shape. Use a small round tip and pipe around the edge of your cookie, making sure you allow the icing to fall into every corner. Let it set and dry for a couple minutes before filling in.
- Flooding- This technique is how you fill your cookies and leave a smooth and seamless top. Simply thin out thicker icing by adding a couple drops of water. The thinner icing should run off your spoon, but not be watery so always start with just a few drops of water.
- Details- If using sprinkles or sugars, always sprinkle onto the cookies while the icing is still wet. If you let it set too long, it will begin to form a skin and prevent your sprinkles from adhering to the icing.
- Food coloring- If you plan to tint your icing, I recommend using gel food coloring. It has the best color and will not change the consistency of your icing.
FAQ
Yes, you can! You can bake these cookies 1-2 days before decorating. Keep them inside an airtight container. Also, keep them in a cool and dry area inside your kitchen to maximize their freshness and prevent any moisture from getting into the cookies.
I think ¼" is a good thickness for cut out cookies. The cookies are sturdy and still have a nice chewiness to them. Anything thinner will result in a more crunchy cookie.
I always use Americolor. I love their vibrant colors and you only need a few drops to color your icing.

Storing and Freezing
Store undecorated no spread sugar cookies inside an airtight container for up to 2 weeks. Make sure to store them in a cool, dry place.
Freezing
To freeze the sugar cookie dough, follow the same procedure inside the recipe. Divide dough in half and form into two flattened discs. Wrap with plastic wrap and place inside Ziplock freezer bag for up to 3 months.
When ready to roll, place the dough inside the refrigerator overnight or leave on the counter for 60 to 90 minutes until thawed.
To freeze baked cut-out cookies, make sure they are completely cooled. Flash freeze the cooled cookies in a single layer on a baking sheet. Then, you can place cookies inside a freezer safe container or Ziploc freezer bag.
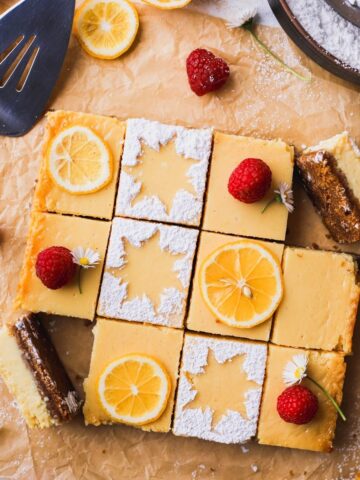
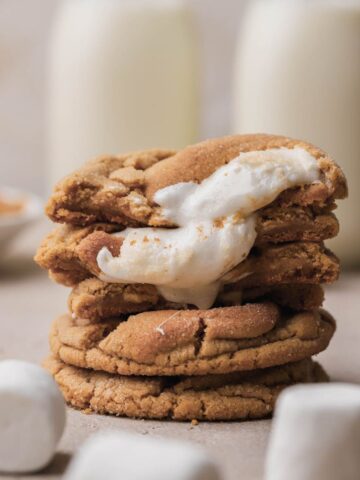
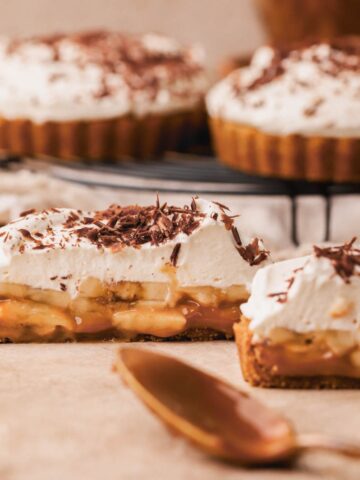
Other Sweet Recipes To Try

If you decide to try this recipe, please make sure to leave a STAR RATING on the recipe card and leave a comment below. I hope you enjoy this recipe!
Let's stay connected on social media. Tag me on Instagram @theepicureanmouse. Make sure to follow me on Pinterest for more delicious family recipes.
📖 Recipe

No Spread Sugar Cookies
Ingredients
Sugar Cookie Dough
- 225 grams Butter unsalted, softened
- 1 cup White granulated sugar
- 1 egg Egg room temperature
- 1 teaspoon Vanilla bean paste
- ⅛ teaspoon Salt
- 2 ½ cups All purpose flour plus more for rolling
Royal Icing
- 4 cups Powdered sugar
- 3 tablespoon Meringue powder
- 5-6 tablespoon Warm water
Instructions
Sugar Cookie Dough
- In a bowl of stand mixer, add softened butter and sugar. Using a paddle attachment, cream until pale yellow and fluffy.
- With mixer on low speed, add egg. Then add vanilla bean paste.
- Meanwhile, sift together flour and salt inside medium size bowl. Add flour mixture into creamed butter and mix just until combined. Do not over mix.
- Divide dough in half. Lightly dust two sheets of parchment paper with flour. Then, place each ball of dough onto parchment paper. Sprinkle the tops of the dough with flour to prevent the rolling pin from sticking.
- Roll dough to ¼" in thickness. Place rolled dough onto cookie sheet. Wrap in plastic wrap and refrigerate for 2 hours or overnight.
- Once chilled, remove dough from the refrigerator. Punch out desired shapes.
- Next, take a small offset spatula and carefully run it underneath each shape to release it from the parchment paper.
- Once all of the cookies have been cut out, place them onto a parchment lined sheet pan. Refrigerate for 30 minutes. As the cookies chill, preheat oven to 350°
- Gather the dough scraps, and roll them onto a lightly floured sheet of parchment paper. If they are too soft to cut out, refrigerate for 20-30 minutes until the dough firms up. Then, cut them out and let them chill as the first batch bakes in the oven.
- Space cookies 1 ½ inches apart. Bake for 10-12 minutes. Allow the cookies to cool completely before decorating.
Royal Icing
- In a bowl of stand mixer, combine all ingredients. Whisk on medium speed until icing forms stiff peaks.
- Adjust to desired consistency by adding additional water, 1 teaspoon at a time.
- Separate icing into bowls and add desired food coloring to each bowl. Add icing into piping bags fitted with small round tips.
- Pipe a border around cookie. Let set for 5-10 minutes. Adjust icing with water to flood cookies.
- Add sprinkles or sugars to wet icing. Let dry for 24 hours at room temperature.
Notes
- Yield will vary depending on the size and shape of your cookie cutters.
Lindsey Bologna
Wow!! These cookies are my best ever yet!!! This will be my go to recipe from now on!
They did not spread and holy moly do these taste amazing!! They are so good that my kids said they don’t even need icing!! Thank you so much for sharing this recipe!
Kristen Espino
Thank you so much for leaving a review. I'm so glad you enjoyed this recipe!!